
Installing a new light fixture is a great way to update the look of any room and improve your home’s lighting. Whether you’re replacing an outdated fixture or adding a new one, the process can be straightforward with the right tools and knowledge. In this guide, we’ll walk you through the steps to install new light fixtures, covering various types of fixtures and providing tips to ensure a safe and successful installation. Installing new light fixtures can transform a room, enhancing its aesthetic appeal and functionality. Whether you’re looking to brighten up your kitchen, create a cozy ambiance in your living room, or add task lighting in your office, choosing the right light fixture and installing it correctly is key. This guide will help you navigate the process, ensuring your new light fixture is installed safely and efficiently.
Tools and Materials Needed
Before you start, gather the necessary tools and materials. Having everything on hand will make the installation process smoother.
Tools:
- Screwdriver (flathead and Phillips)
- Voltage tester
- Wire strippers
- Pliers
- Ladder
- Drill (if needed)
- Tape measure
Materials:
- New light fixture
- Wire nuts
- Electrical tape
- Screws and anchors (if needed)
- Light bulbs
Types of Light Fixtures
Different rooms and functions require different types of light fixtures. Here are some popular options to consider:
Ceiling Lights
Ceiling lights are versatile fixtures that can provide general illumination for any room. They come in various styles, including flush mounts and semi-flush mounts, making them suitable for rooms with different ceiling heights.
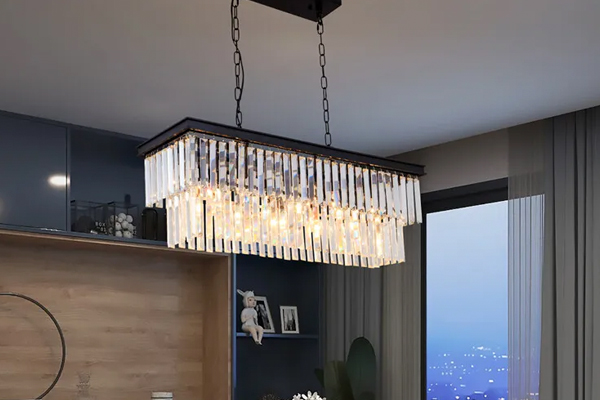
Chandeliers
Chandeliers add elegance and sophistication to dining rooms, living rooms, and entryways. They often feature multiple arms and light sources, creating a dramatic focal point.
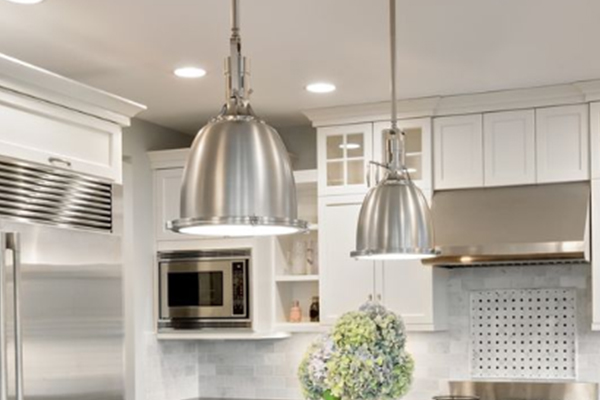
Pendant Lights
Pendant lights are perfect for kitchen islands, dining tables, and other areas where focused lighting is needed. They hang from the ceiling by a rod or chain and come in various shapes and sizes.
Wall Sconces
Wall sconces are excellent for adding ambient or task lighting to hallways, bathrooms, and bedrooms. They are mounted on the wall and can be hardwired or plugged into an outlet.
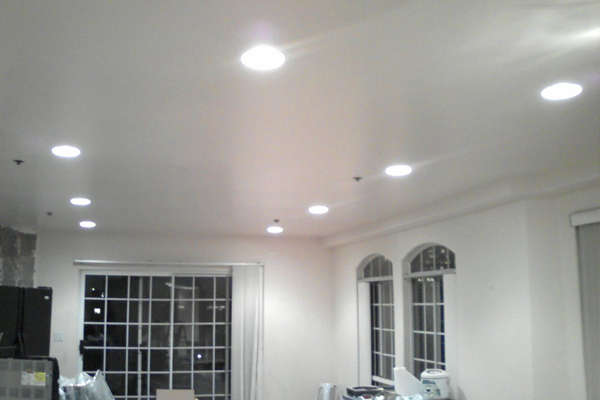
Recessed Lights
Recessed lights, also known as can lights or downlights, are installed into the ceiling, providing a clean, modern look. They are ideal for rooms with low ceilings or for creating a minimalist aesthetic.
Step-by-Step Installation Guide
Safety First
Before you start any electrical work, turn off the power to the fixture’s circuit at the breaker box. Use a voltage tester to ensure the power is off before touching any wires.
Preparing for Installation
- Remove the Old Fixture: If you’re replacing an existing fixture, start by removing it. Unscrew the fixture from the ceiling or wall, and carefully disconnect the wires. Support the fixture as you work to avoid dropping it.
- Inspect the Electrical Box: Check the condition of the electrical box and ensure it’s securely attached to the ceiling or wall. If it’s loose or damaged, replace it before proceeding.
- Prepare the New Fixture: Assemble your new light fixture according to the manufacturer’s instructions. This may include attaching the mounting bracket, assembling the fixture parts, and threading the wires through the fixture’s components.
Installing the Light Fixture
- Mount the Bracket: Attach the mounting bracket to the electrical box using the provided screws. Ensure it’s securely fastened and level.
- Connect the Wires: Connect the fixture’s wires to the corresponding wires in the electrical box. Typically, this involves connecting the black (hot) wire to the black wire, the white (neutral) wire to the white wire, and the green or bare (ground) wire to the ground wire. Use wire nuts to secure the connections and wrap them with electrical tape for added safety.
- Attach the Fixture: Carefully lift the light fixture and attach it to the mounting bracket. Secure it with screws, ensuring it’s flush against the ceiling or wall.
- Install Light Bulbs: Insert the appropriate light bulbs into the fixture. Make sure they match the fixture’s specifications to avoid damage or reduced performance.
Testing the Light Fixture
Once the fixture is installed, turn the power back on at the breaker box and test the light. Flip the light switch to ensure the fixture is working correctly. If it doesn’t turn on, double-check the wiring connections and ensure the bulbs are properly seated.
Troubleshooting Common Issues
Even with careful installation, you might encounter some issues. Here are a few common problems and solutions:
- Light Flickers: This could be due to loose wiring connections or a faulty bulb. Check the connections and replace the bulb if necessary.
- Light Doesn’t Turn On: Ensure the power is turned on at the breaker box and the light switch is functional. Double-check the wiring connections.
- Fixture is Loose: Make sure the mounting bracket is securely fastened to the electrical box and the fixture is properly attached.
Installing a new light fixture can significantly enhance your home’s ambiance and functionality. By following the steps outlined in this guide, you can confidently install a variety of light fixtures, from ceiling lights to chandeliers and wall sconces. Remember to prioritize safety and take your time to ensure a secure and successful installation. Ready to transform your space with new lighting? At FYI Contracting, we’re here to help. Whether you need assistance with installation or want to ensure your new light fixtures are installed safely and correctly, our experienced team is just a call away. Schedule an appointment today and let us brighten up your home with professional lighting installation services.
